The Walk-In Shower Remodel Part 1: A Step-by-Step Guide
The Remodel Revealed: The Ekon Bath Walk-In Shower Process
I'm often asked by clients what the secret is to a flawless bathroom, and honestly, the answer is always the process. A walk-in shower-only remodel is a focused, impactful renovation, and we've broken down our approach into simple phases so you know exactly what to expect from the moment we step into your East Texas home.
Phase 1: Preparation, Demolition, and Rough-In
This is the foundational stage where we protect your home and ensure the long-term structural success of your new shower space.
- Initial Protection: We treat your home like our own. We implement meticulous floor protection along all walking paths and utilize HEPA vacuum filtration systems and plastic sheeting barriers to minimize dust migration.
- Surgical Demolition: We carefully remove and dispose of the existing shower enclosure, base, and surrounding tile to expose the underlying frame.
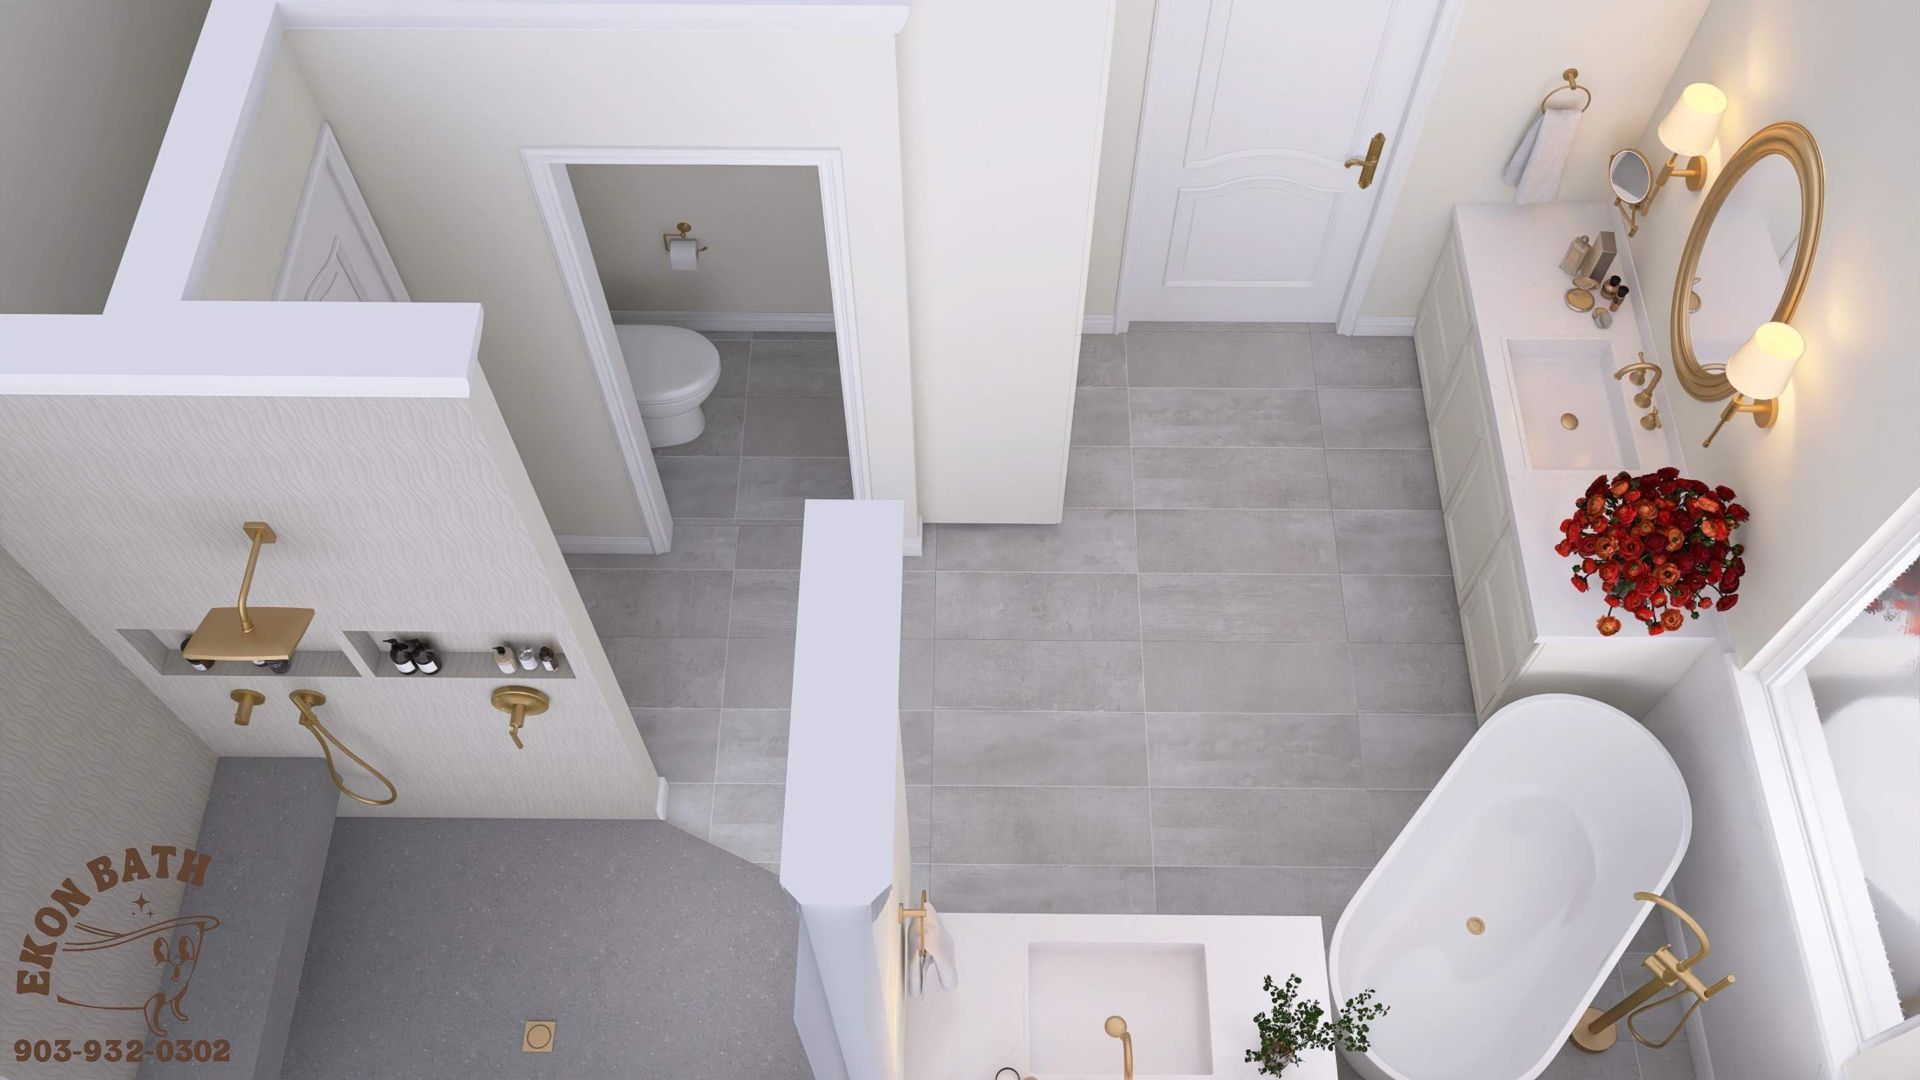
- Framing & Safety Blocking: Any necessary framing adjustments, like creating a curbless entry or constructing a new pony wall, are completed. Crucially, we build into the pre-existing Stud Framing...adding precise blocking inside the walls now to securely hold grab bars, niches, and future accessories.
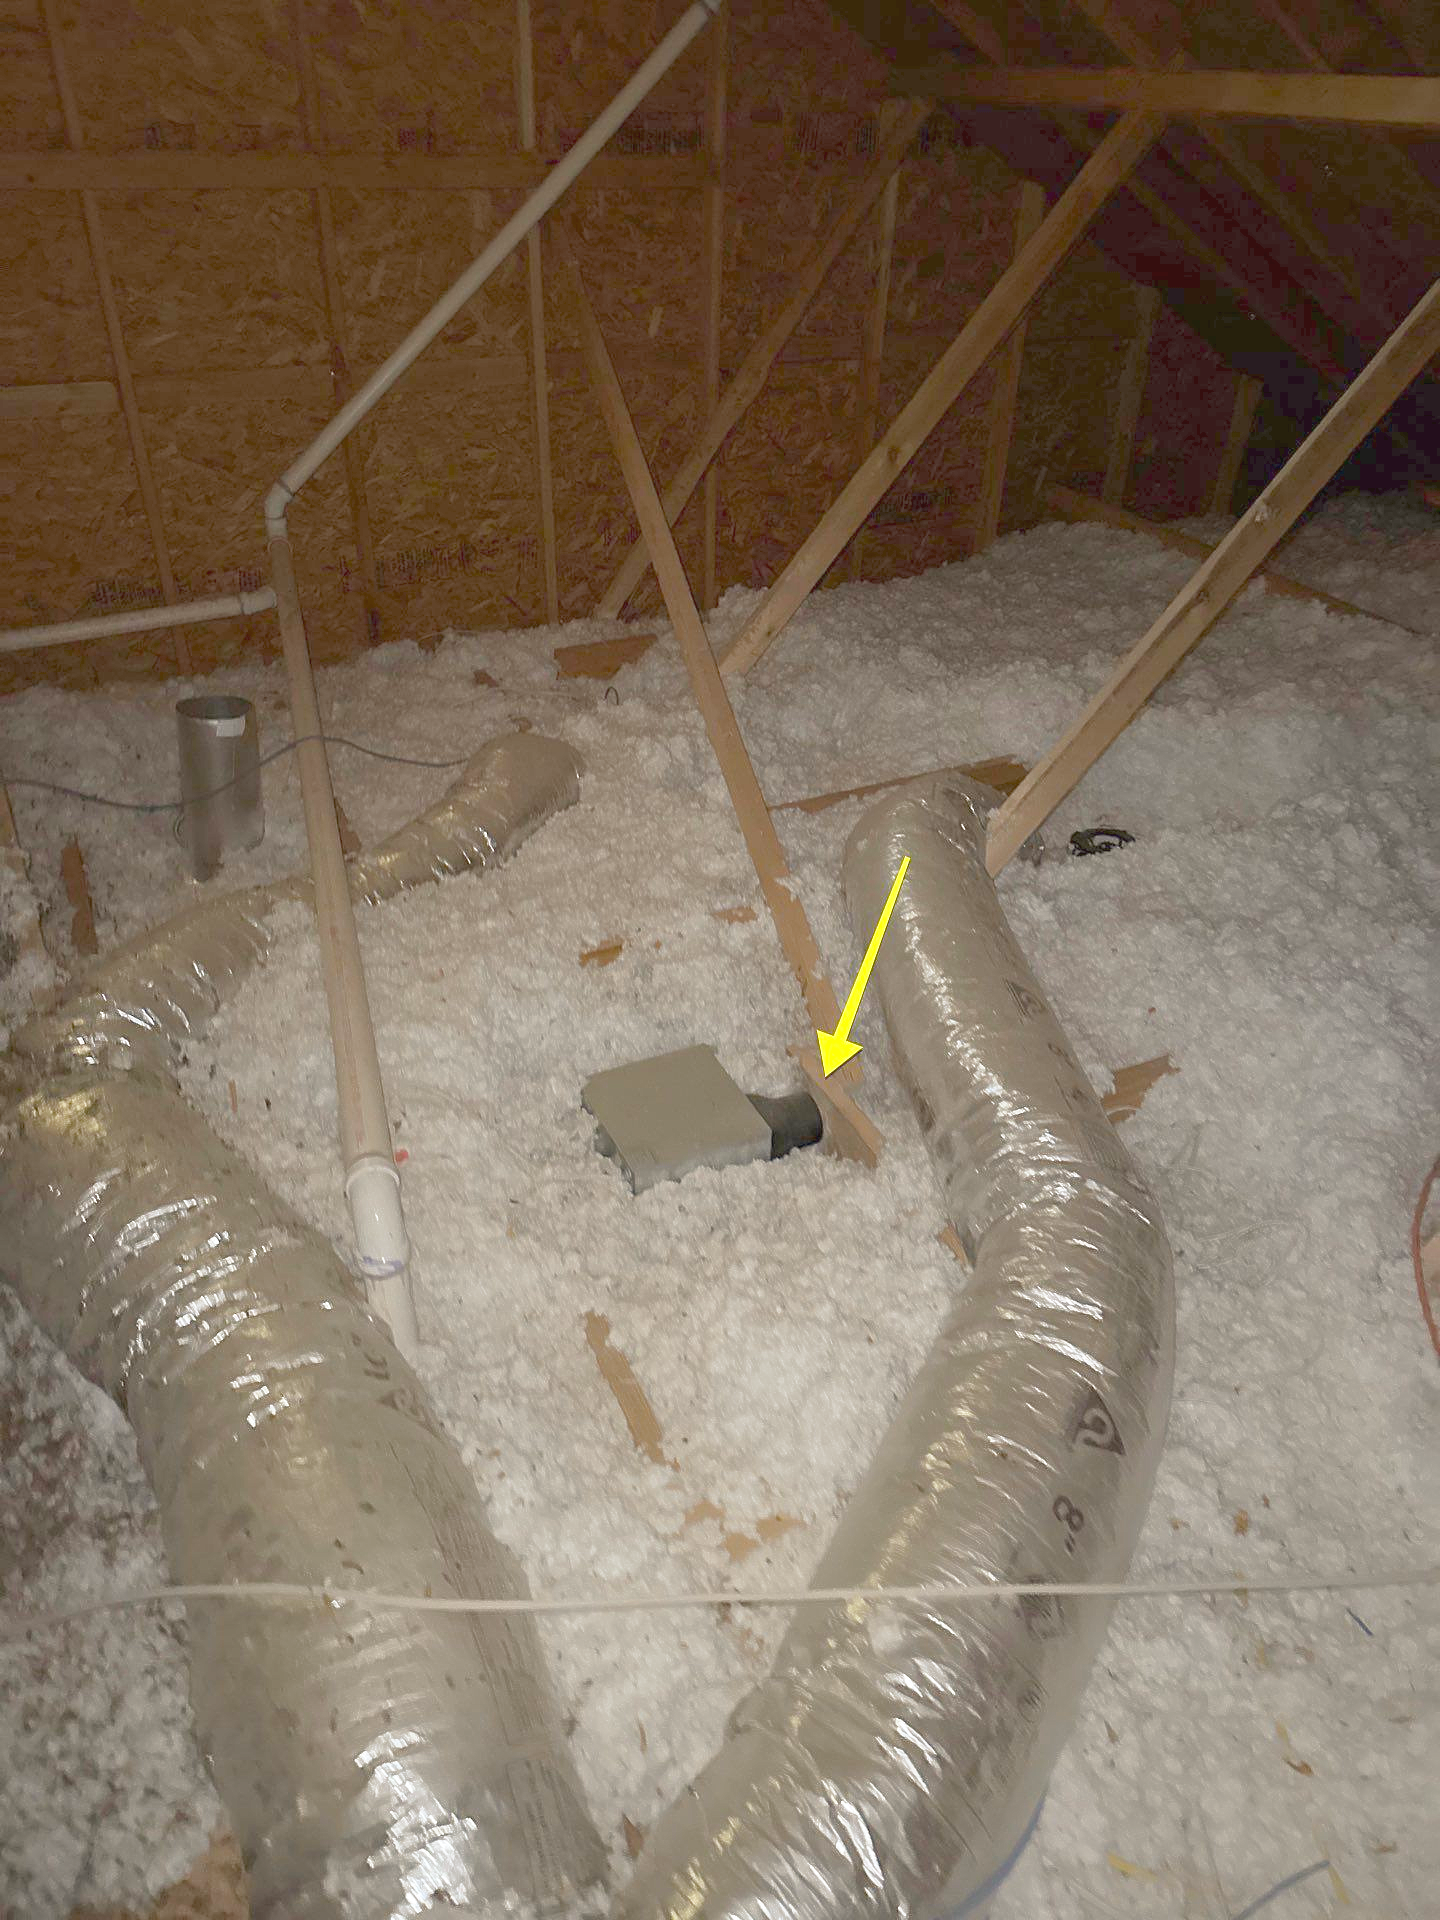
- Plumbing & Electrical Rough-in: Our team adjusts all in-wall and under-floor plumbing lines to accommodate the new shower drain location and performs any rough-in for new fixtures (showerhead, controls) and electrical wiring.
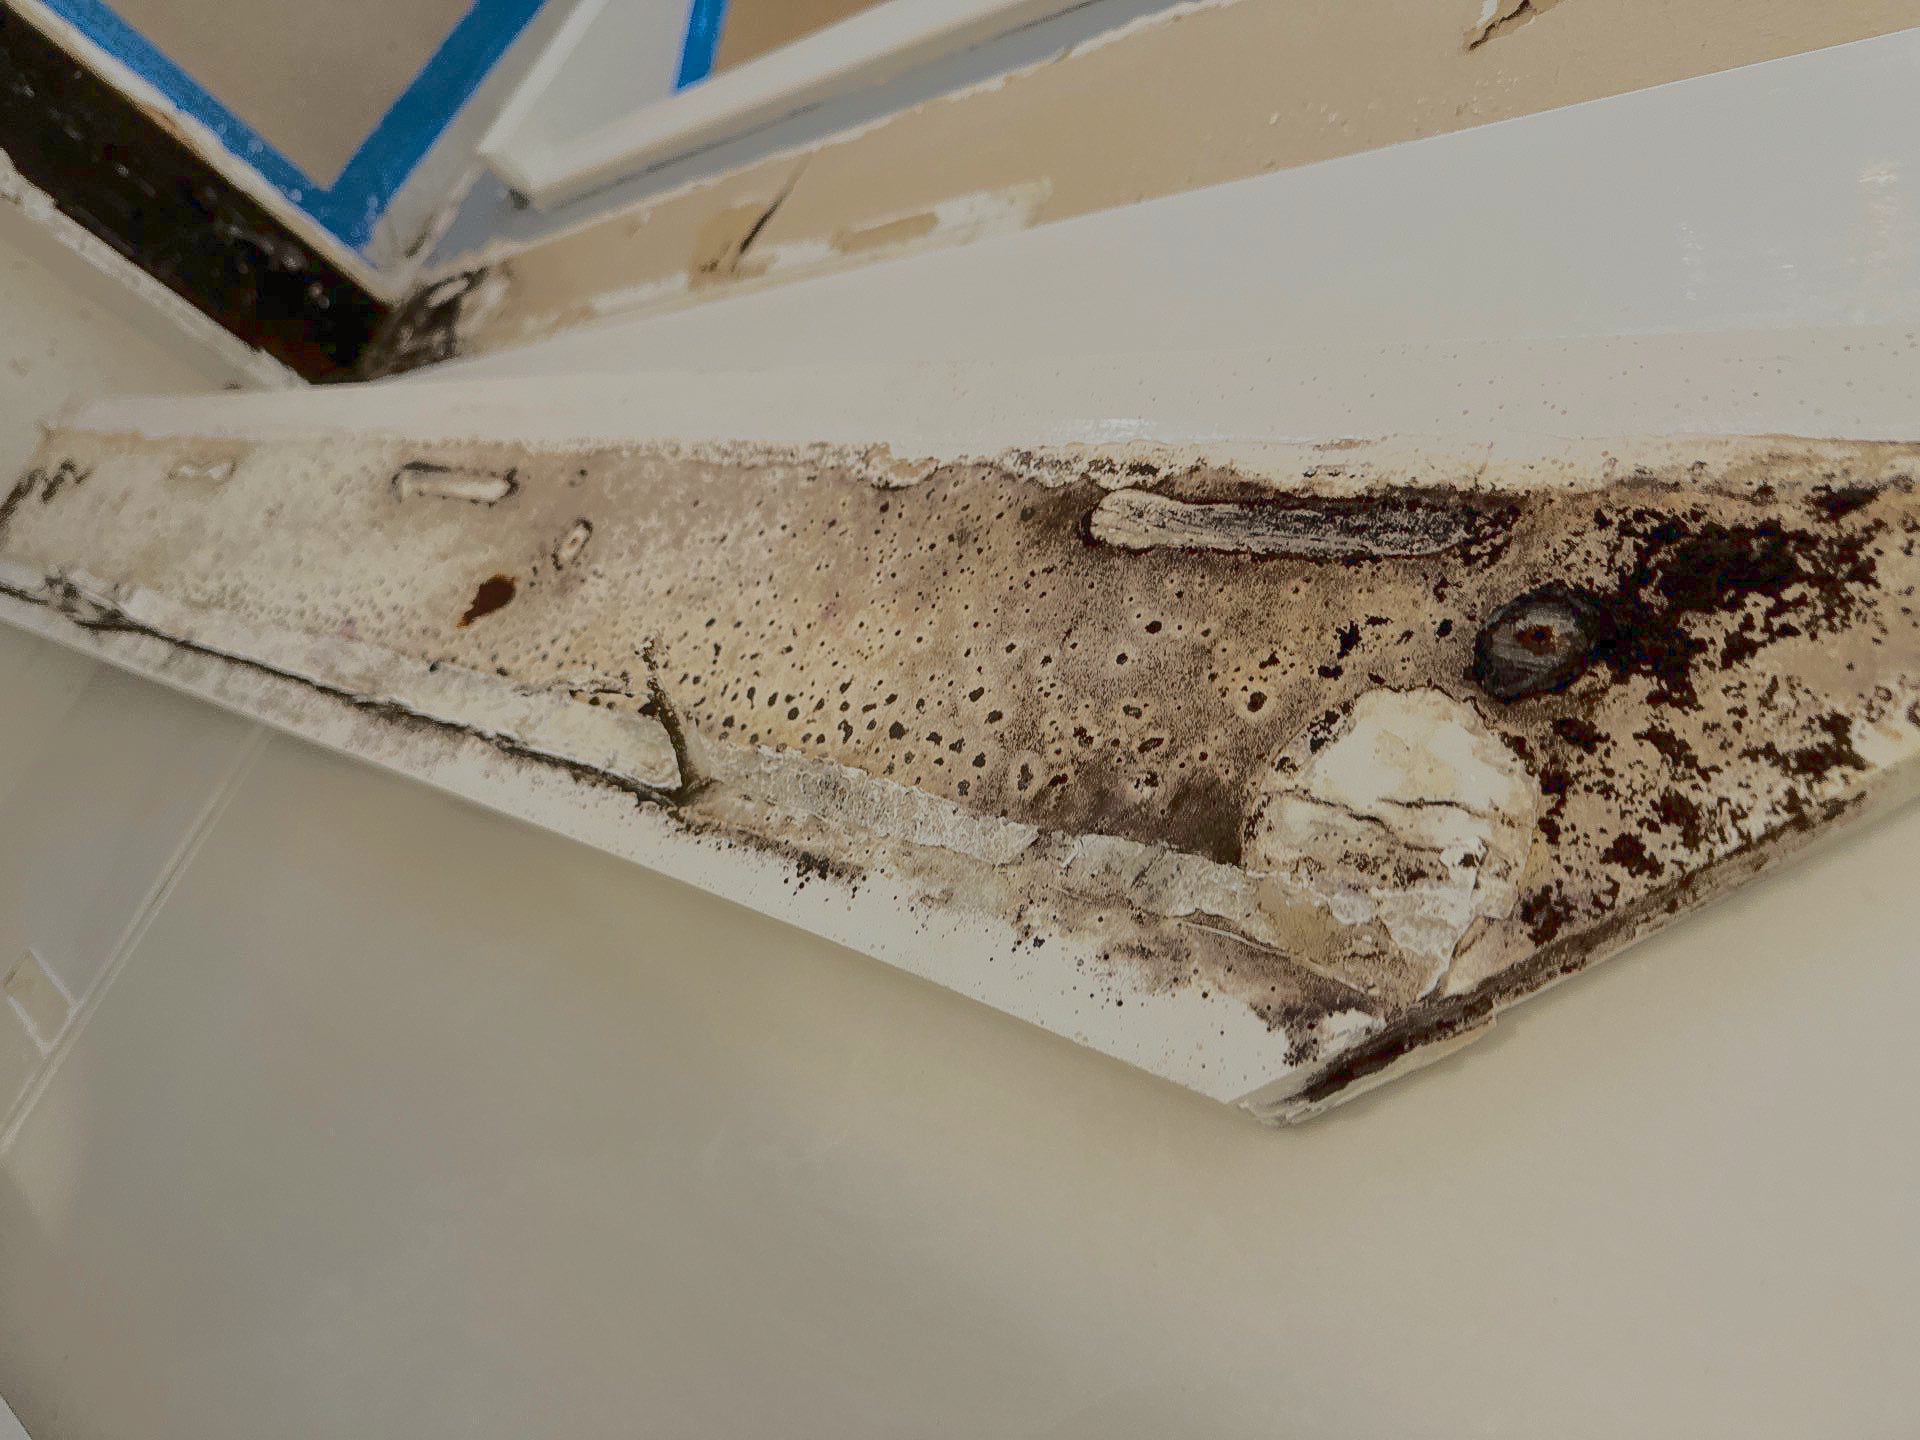
Phase 2: The Waterproofing (For Our Tile Showers)
This is the most critical phase for a long-lasting, stress-free tile shower. It's the assurance that your investment is protected.
- Backer Board Foundation: We install Schluter Kerdi Board on the walls to create a solid, water-resistant surface that is ready for your chosen finish.
- Waterproofing Membrane: We apply a continuous, sealed waterproofing membrane over the entire surface, creating a barrier that prevents any water from penetrating the walls or the wood behind them.
Phase 3: The Finishes and Final Fixture Installation
This is where your vision comes to life and the bathroom truly begins to take shape.
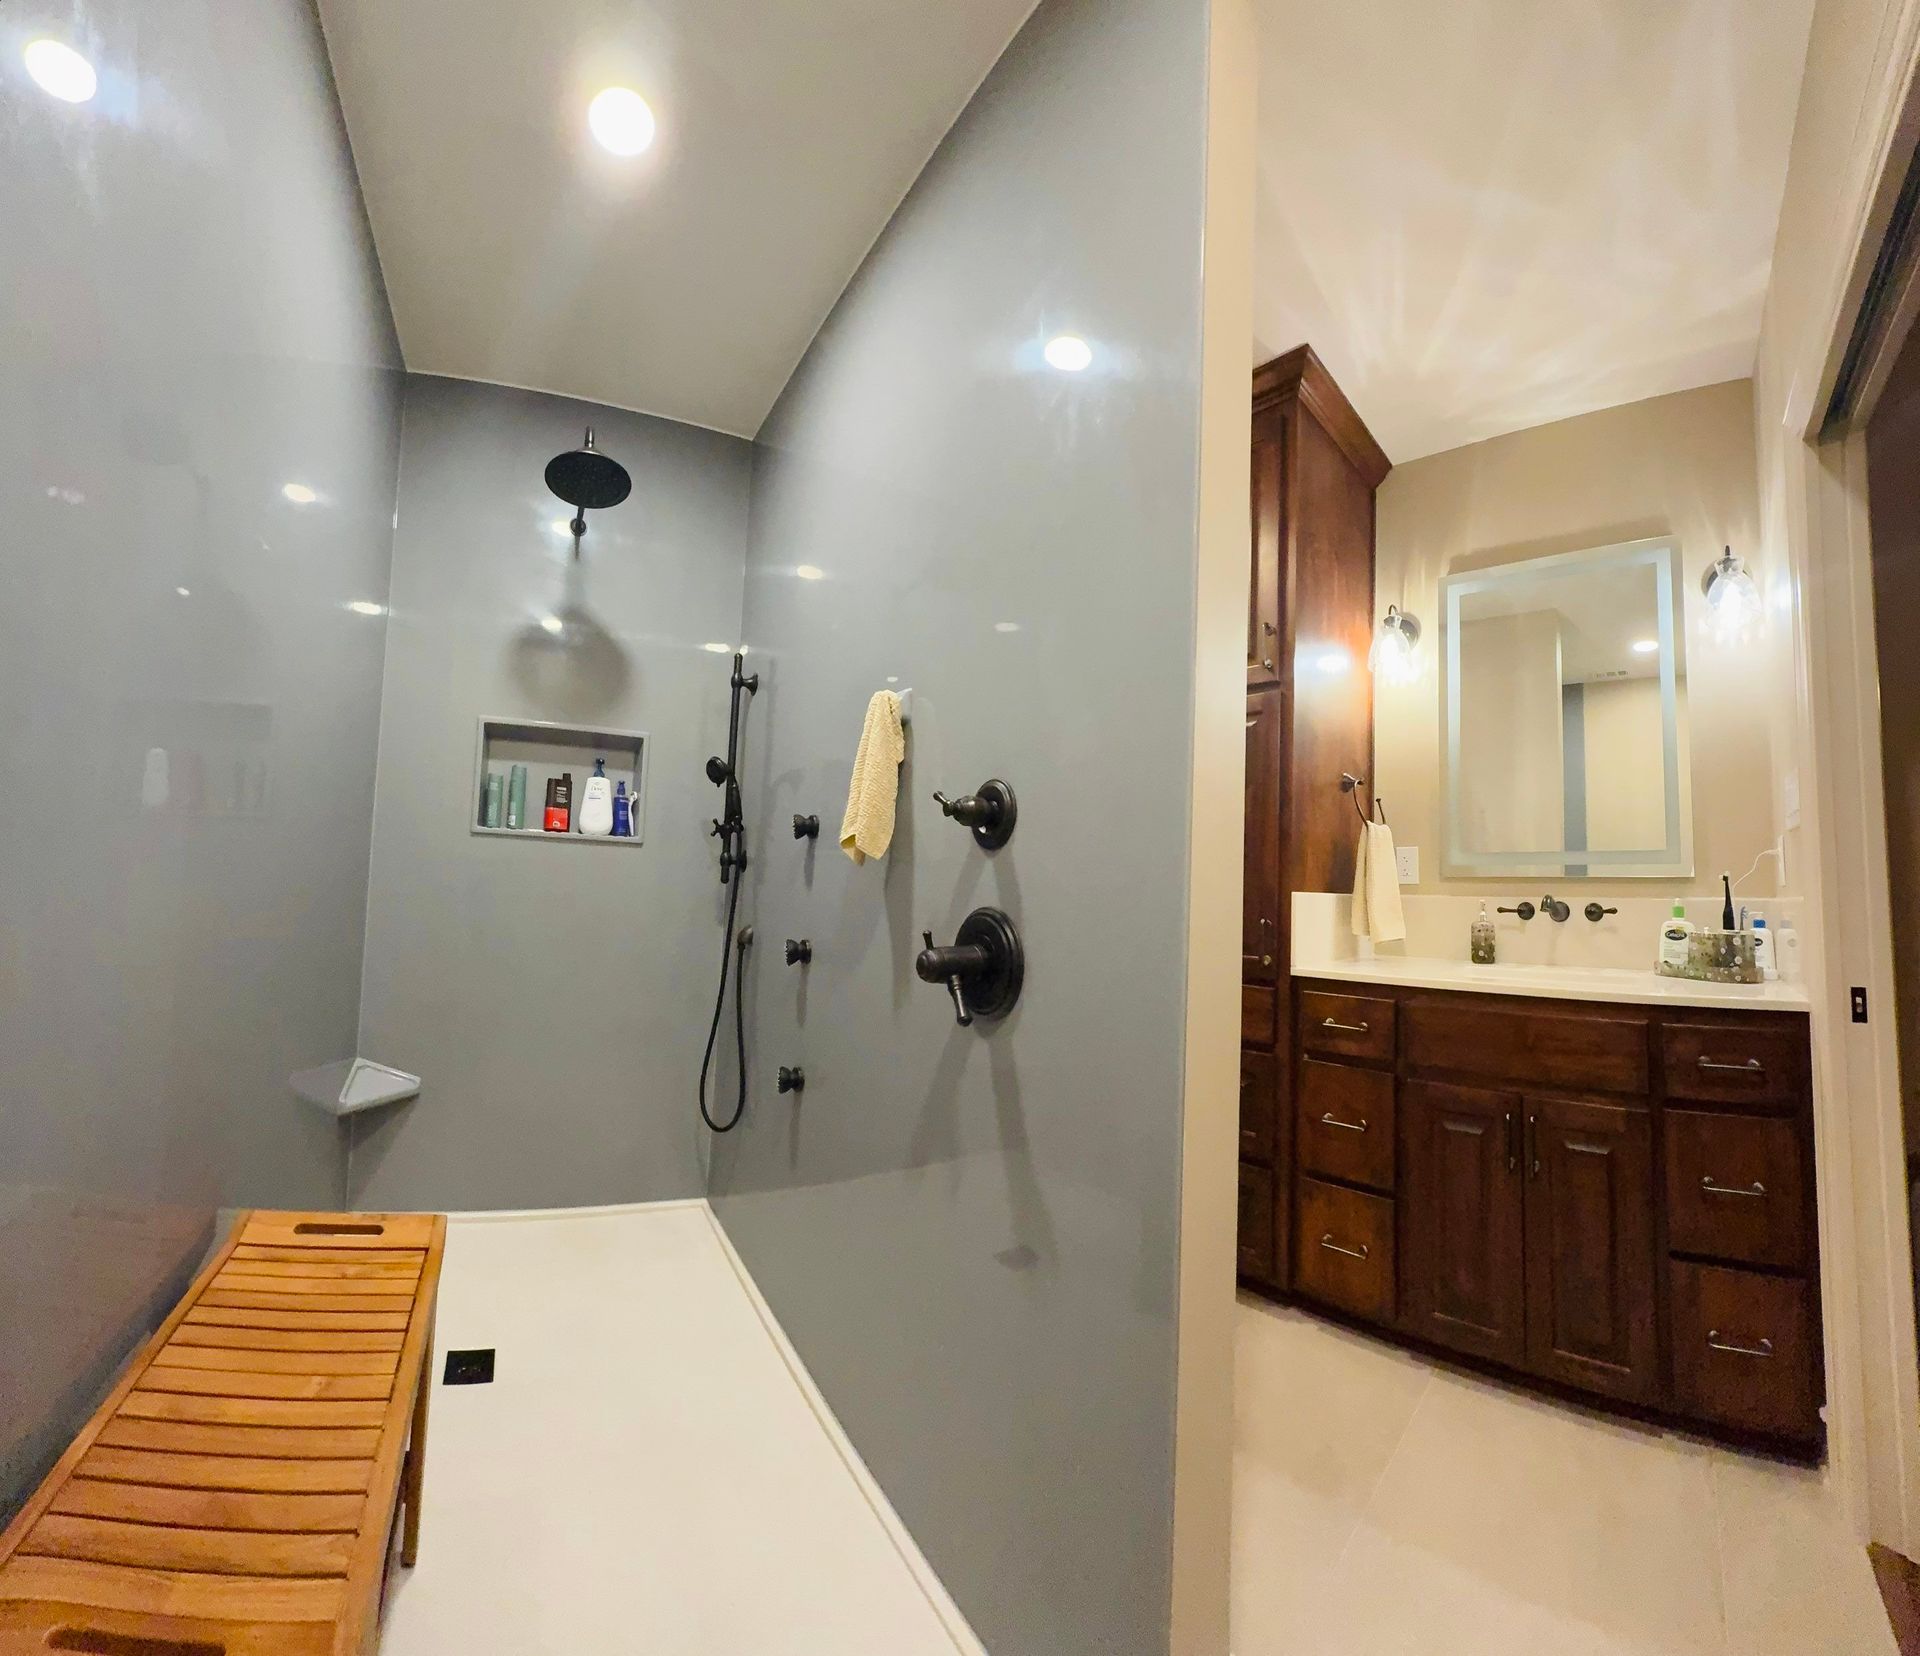
- Wall Installation: We install your chosen wall finish. For our Single Panel (Non-Tile) clients, we install the seamless, low-maintenance panels and coordinating shower base that will be the centerpiece of your new shower, including built-in niches and accessories. For the tile showers, our team meticulously installs each piece per the design layout request.
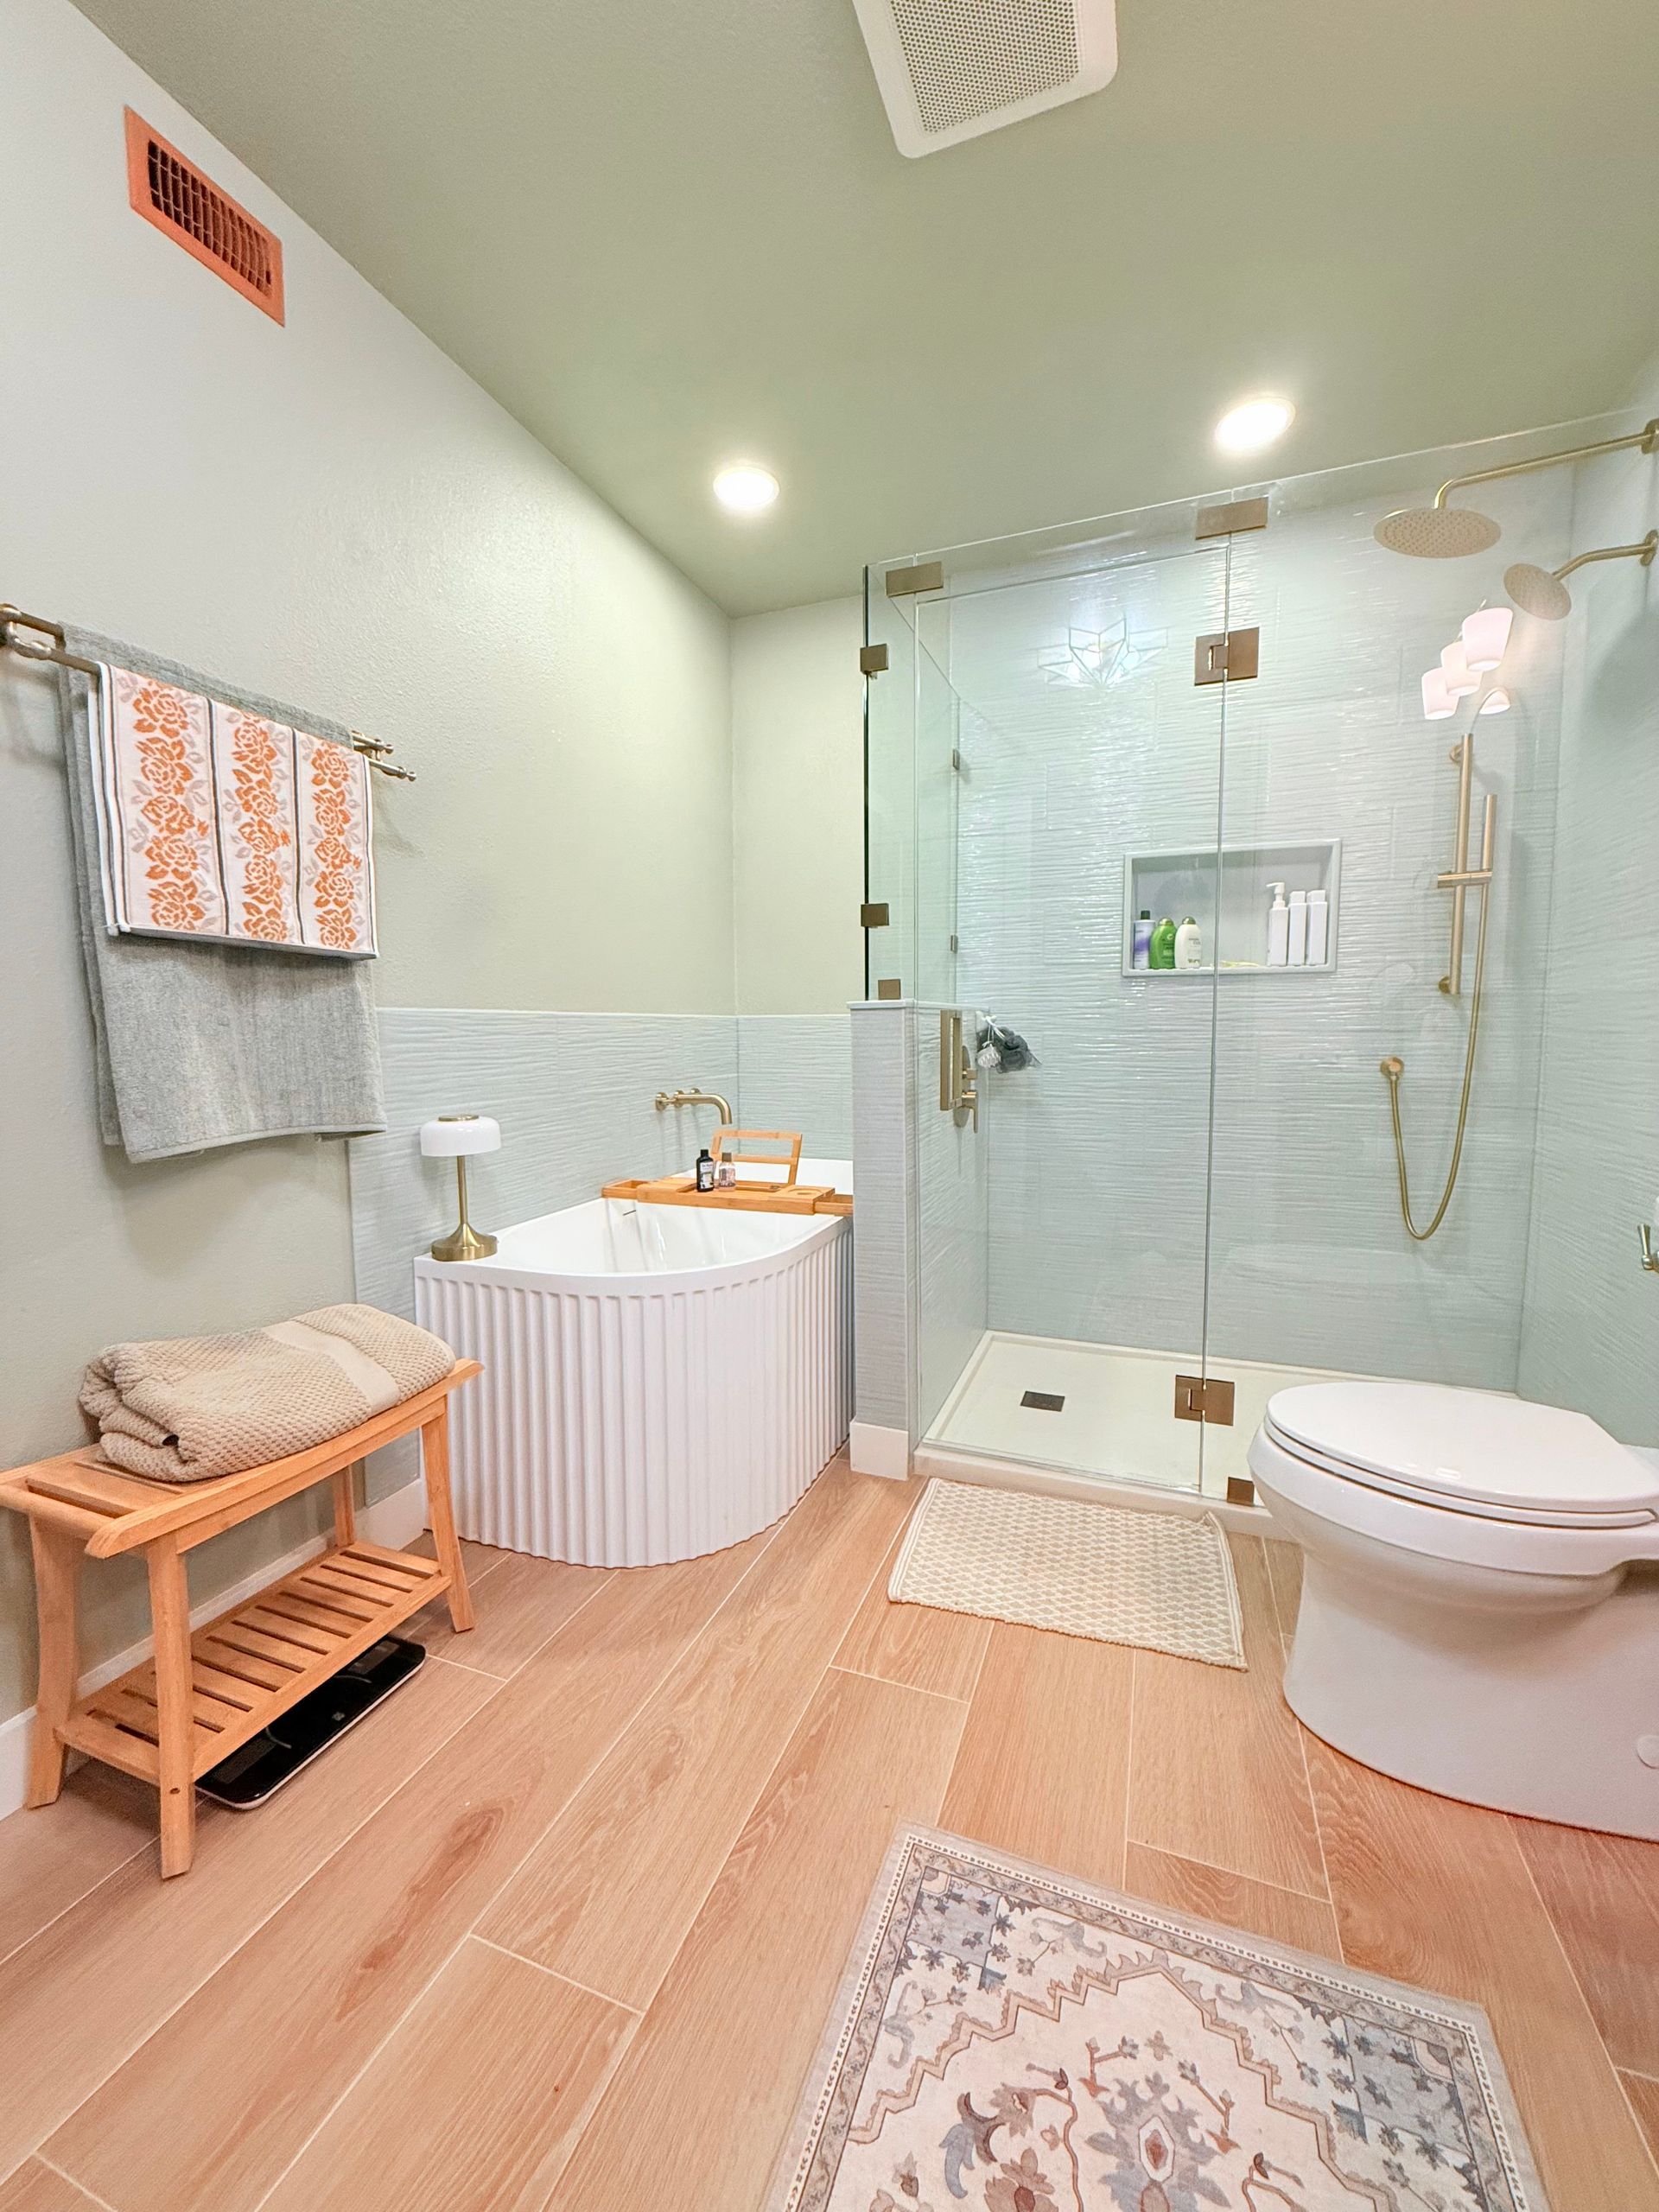
- Shower Floor & Fixtures: New flooring is installed in the shower space. We then install your shower fixtures (showerhead, temperature valve, etc.), along with any integrated accessories and grab bars.
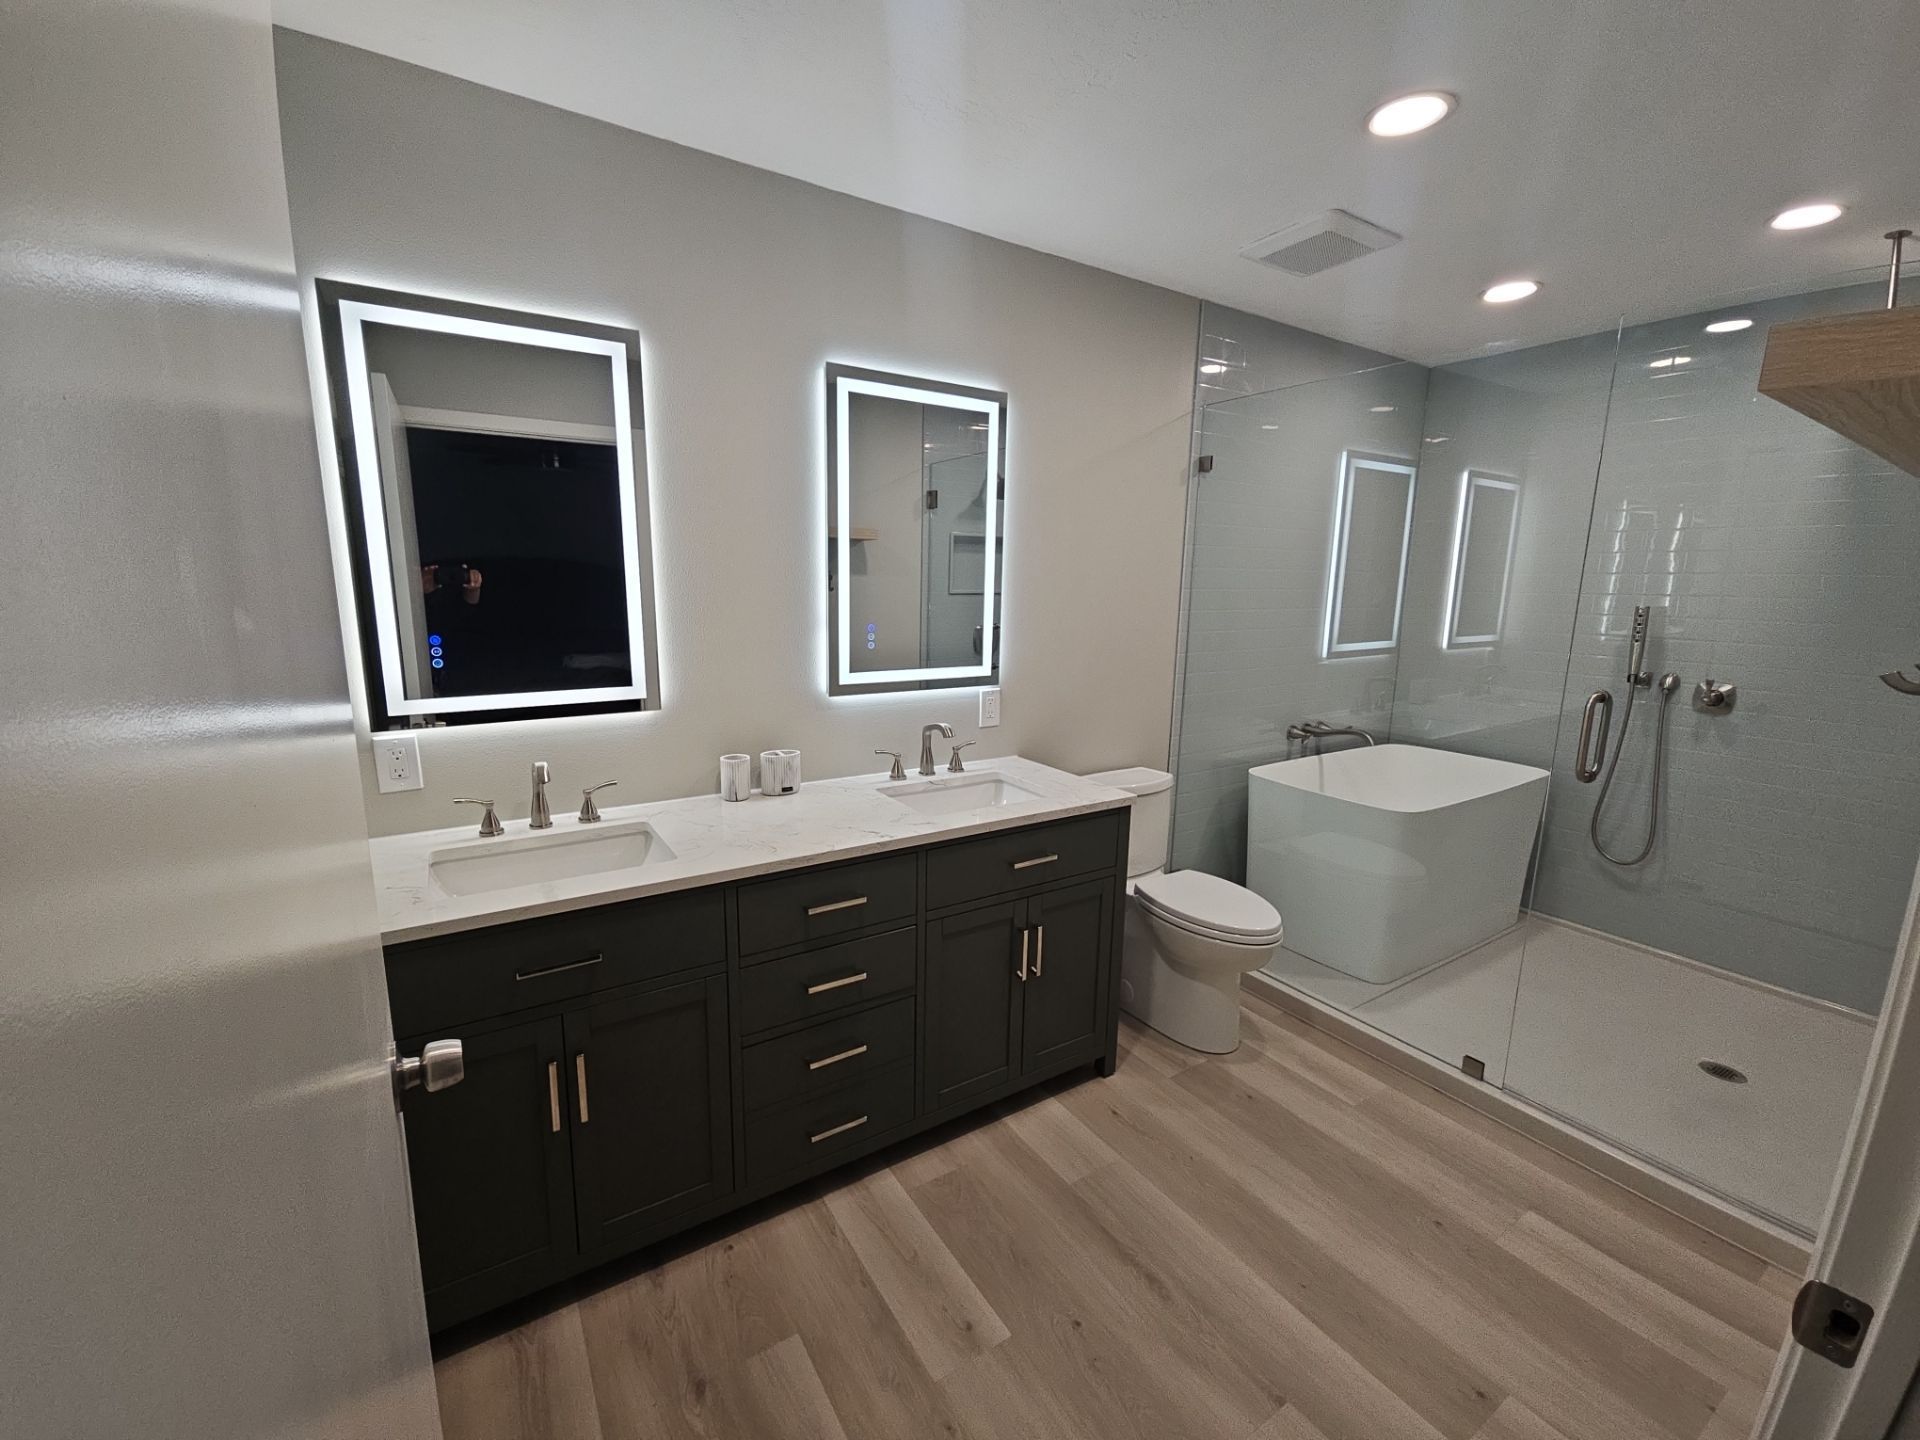
- Custom Glass Enclosure: The final, elegant touch is installing the custom-manufactured 3/8-inch tempered frameless glass system. For the cherry on top, we also apply a 5-year ceramic coating to the interior glass surface to minimize water spotting and maximize maintenance ease.
By breaking down the process into these deliberate phases, we remove the mystery of a renovation. Our goal is to ensure you feel confident and excited at every step of your walk-in shower remodel.